Jellyfish—Data Visualization
The goal of this project is to visualize data through a physical installation.
The installation, named Jellyfish, was inspired by its resemblance to a jellyfish in the sea. The dynamic height of the Jellyfish represents the amount of time spent on a particular app each day. If the time spent exceeds a set limit, the Jellyfish lights up as an indicator.
Each app is associated with a distinct light color, reflecting its emotional impact:
• Entertainment apps trigger warmer colors (indicating relaxation or enjoyment).
• Learning apps trigger cooler colors (symbolizing productivity or focus).
For this project, I chose to track usage data from the six most-used apps in my daily routine.
Optimizing Data Representation for the Jellyfish Installation
Two key challenges arose in representing app usage data effectively:
1. High Fluctuation in Daily Usage
• App usage varied significantly—some days, a video app might be used extensively, while on busier days, it might not be opened at all.
• This inconsistency made the installation appear broken and required prolonged observation, potentially leading to disengagement.
2. Uneven Distribution of Time Spent Across Apps
• The majority of time was spent on one or two apps, while others were used for only a few seconds.
• Using a uniform unit (e.g., seconds) caused a disparity where major apps dominated the visualization, making smaller changes difficult to notice.
Adjustments for Improved Clarity
To address these issues, two refinements were made:
• Adaptive Time Units: Depending on the app type, data was measured in either minutes or seconds to balance the scale.
• Exponential Smoothing: A smoothing technique was applied to reduce abrupt fluctuations while maintaining meaningful trends, ensuring a clearer and more engaging visual representation.
These adjustments improved the Jellyfish installation’s readability, making usage patterns more intuitive and visually compelling.


INSTALLATION MAKING
Materials: White cardboard, Threads, Arduino, Fish wires, Servos, Double-sided tap, building blocks, papers, Round wooden sticks, RGB Leds
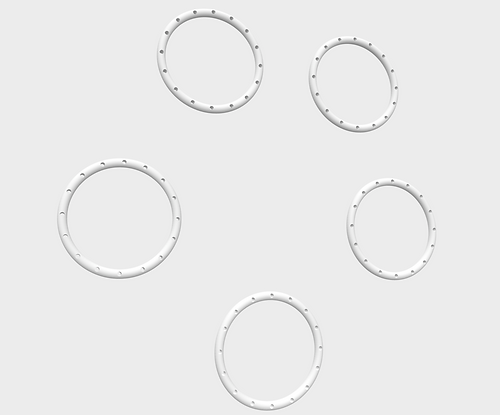
The 3D model rings
It includes 6 big Rings and 6 small Rings. These 12 rings are printed by a 3D printer.
The next step was to use threads to knit the whole Jellyfish.


Structural Design of the Installation
To support the installation, rings were fixed at the bottom, while a ceiling structure was required to hold the servos, RGB LEDs, and wiring. To achieve this, whiteboard and round wooden sticks were used as the primary materials. Laser cutting was then utilized to precisely shape the components, ensuring a clean and efficient assembly.


Mechanism for Controlling the Jellyfish Height & Lighting
The servo wings were used to adjust the length of the fish wires, which were attached to the top of the ridges. By rotating at different angles, the servos determined the height of the Jellyfish through the movement of the wires.
For lighting, LEDs were mounted on the ceiling, positioned to illuminate only the Jellyfish directly beneath them, preventing light overlap and ensuring a clear visual effect.

Since a single Arduino did not provide enough outputs, various methods were explored to extend its capabilities. Ultimately, using two Arduinos was chosen as the most stable and less complex solution.
Deploying the components posed a challenge due to the large number of wires at the top of the installation. To ensure smooth integration, the Arduinos were programmed in advance before being installed into the structure, allowing for thorough testing and reliability.
Various tapes and layouts were tested to secure the components, but hot glue proved to be the most effective solution for fixing the numerous wires in place.
Another significant challenge was the servo wings’ limited length, which was insufficient for achieving the required height adjustments. To address this, iron wires were used to extend the wings, and hot glue was applied to securely connect the fish wires and iron wires, ensuring stability and smooth movement.


In the final step, all the wires were organized and neatly arranged. The entire installation was then packaged for proper display and ensured everything was securely set for functionality.
